The next step from digital designing for me is to use digital images and so on to make my own cards, gift bags, etc. But I am still learning here, and one thing I discovered this week is how to make flowers to decorate cards and so on. Whilst most of you have probably been doing this since you were knee high to a cradle, it is all new to me and I thought I would share with you what I have made.
The first thing to do is to cut out circles for the petals of the flowers. I used my Woodware scalloped circle punch here, which makes a circle with a 2" (5 cm) diameter. You could use a plain circle punch, a circle cutter or just draw round an egg cup or similar to get the circle shape and then cut it out.
I've found that using cardstock for this is too heavy. You can't crumple the petals as well when the paper is heavy and it doesn't look anywhere near as effective. I ended up using tissue paper and punched through several layers at once - I used sheets of tissue paper, tore off a strip from the end of the sheet about 3" wide and then folded it in half. I folded it in half another two or three times making sure it would fit into the punch and I ended up with 8 or 10 scalloped circles depending on how many times I folded the tissue over).
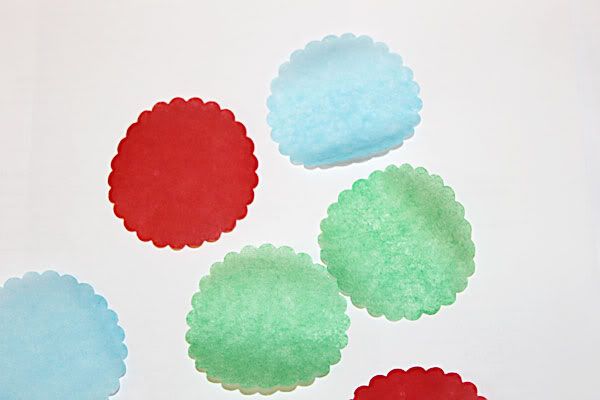
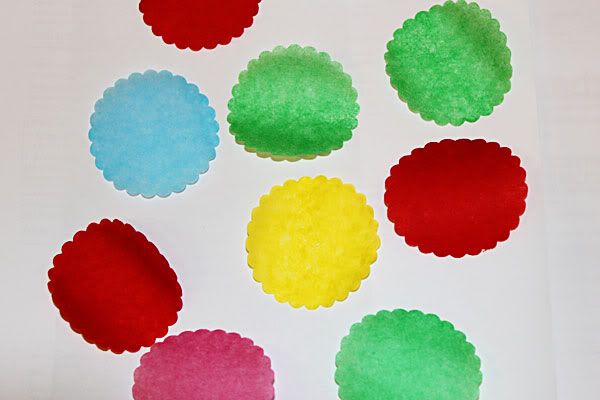
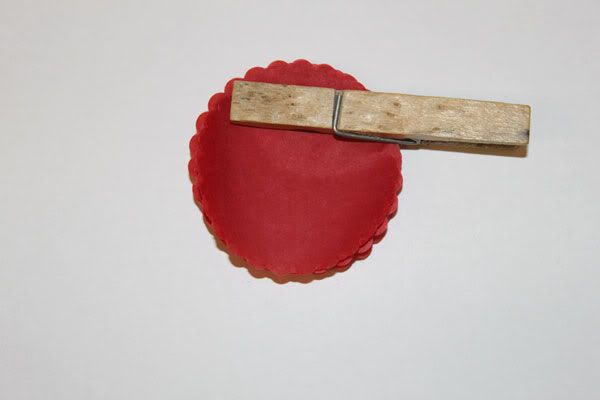
As you can see, I ended up getting carried away with the punching! You need probably between 8 and 10 circles for each flower, although if the paper is heavier, you would need fewer layers. Clip the layers together. I used the ever ready household peg as you can see here, but you could use a paperclip, bulldog clip or whatever you have to hand to keep the petals together:
Then carefully use a pokey tool (or whatever they are called) to put a hole through the centre of the flower.
I apologise in advance for the next photo. I am still getting used to my new camera and holding the camera in one hand and the flower in the other meant I had problems keeping the camera still. As a result, my Fiskars finger tip craft knife (I don't have a pokey tool thingy so usually end up using a craft knife) is in focus but the flower is blurry! Still, at least you can see what I was doing.....
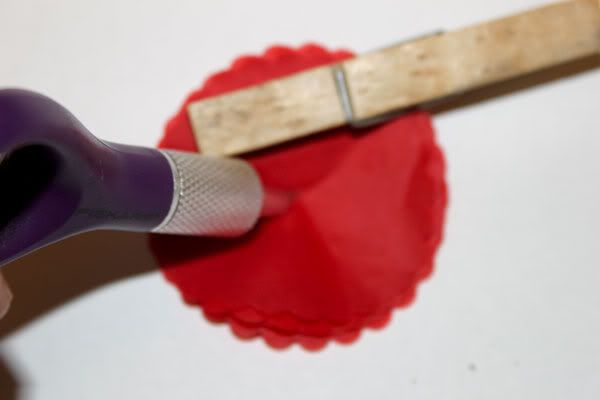
Insert a brad into the hole to keep all the petals together. You need to do this carefully to make sure you do not tear the tissue.
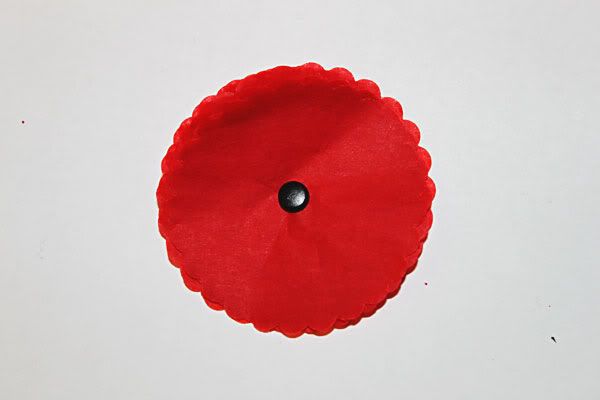
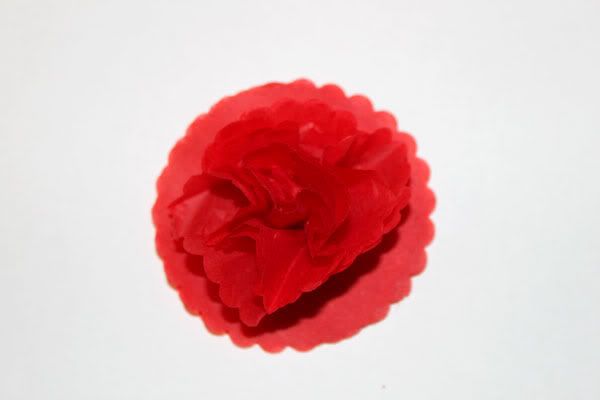
Then scrumple up each petal starting with the top one:
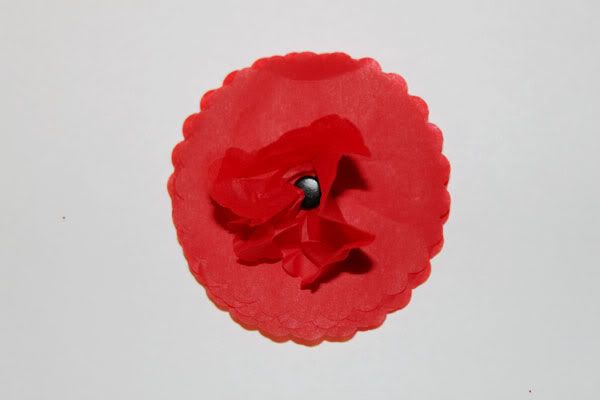
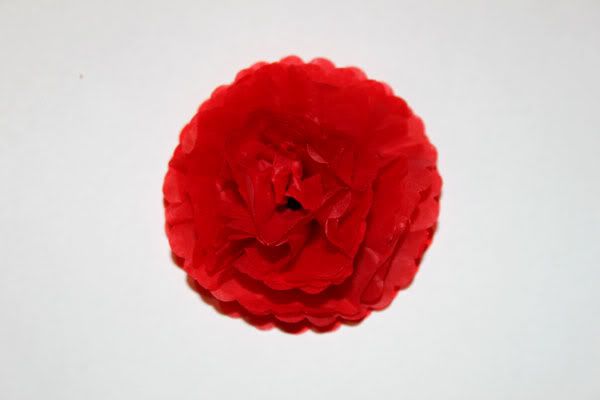
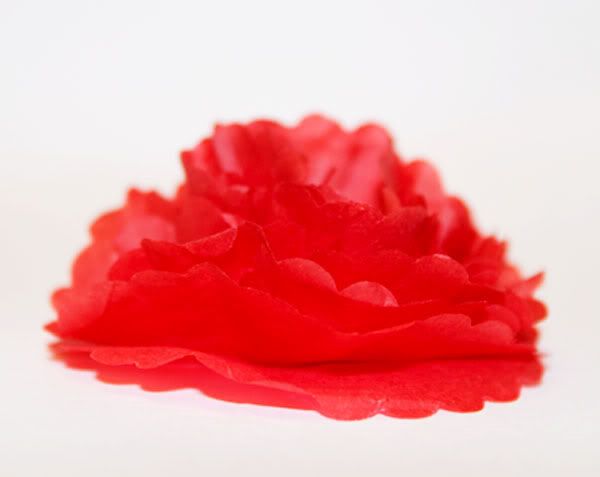
Carry on repeating this with each layer, working you way down to the bottom layer. Leave the bottom layer unscrumpled. You can see how this gradually builds up a realistic looking flower (well, about as realistic as tissue paper can get, anyway!):
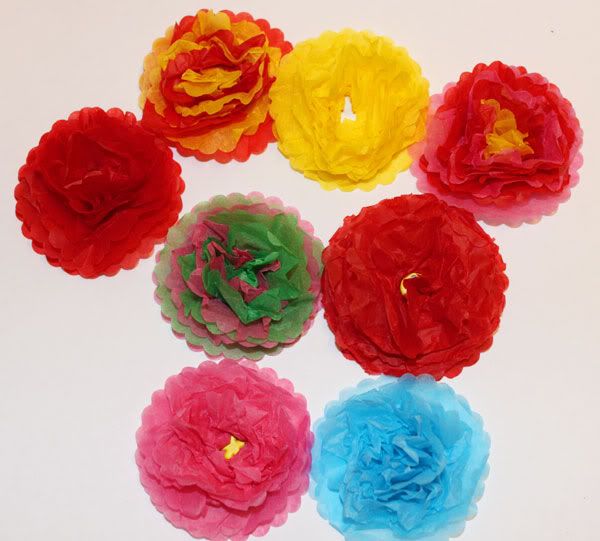
And in true Blue Peter fashion, here are some I made earlier:
You can then use these flowers for all sorts. One trick is to use left over scraps of paper to make stems, and then you can either use a leaf punch or skeleton leaves for the leaves. They can then be stuck onto patterned or plain paper on a card. You could also use those thin gardening sticks as stems and then stick the flowers on the top and place in a vase or other container.
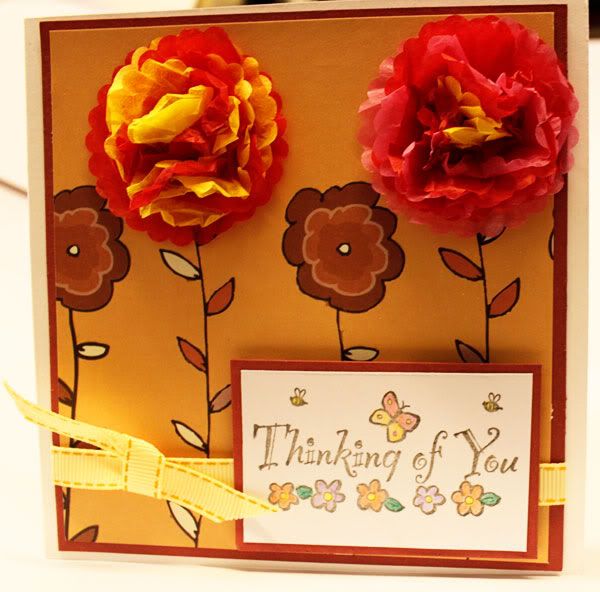
One of my friends is going into hospital next week so I decided to use the flowers in a card for her. I used some Papermania paper (from the Earth Tones collection) mounted on contrasting paper and stuck the flowers onto some of the flowers on the paper:
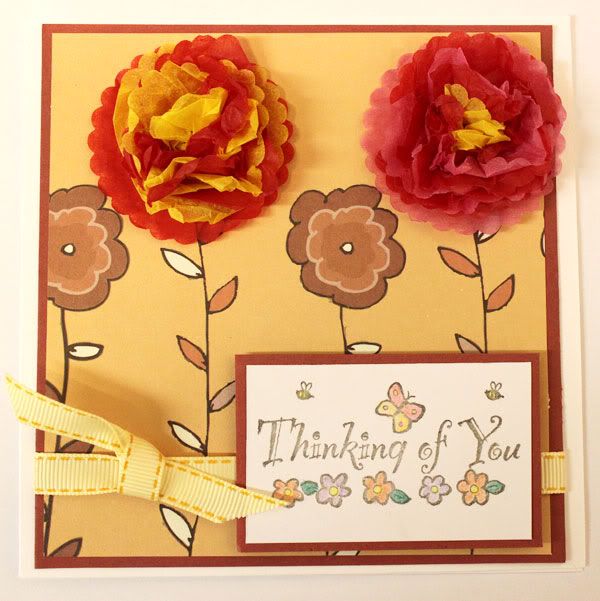
I used a docraft stamp for the message, embossed this onto plain white cardstock and then coloured this with watercolour pencils, mounted it onto the plain paper and stuck it onto the card along with decorative ribbon.
Sorry about the colour in the photographs. My office is in the converted garage and there is no natural light in here at all, so taking photos is somewhat of a hit and miss affair colourwise.
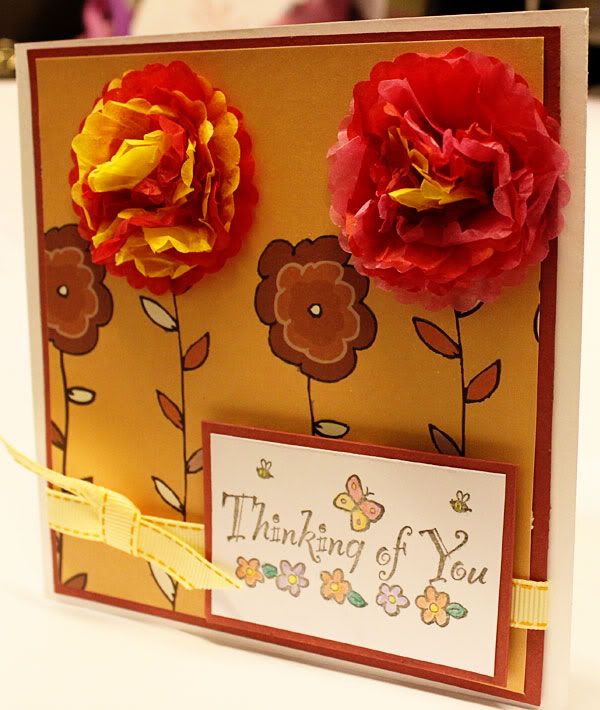
Hopefully, she will like the card - provided I remember to post it of course!
I'm hoping to be back later today/tomorrow with some more overlays. I've been out and about using my camera again (well, only out and about into the back garden, but hey, that counts too, surely???!!!!).
In the meantime, happy scrapping!


Thank you! This blog post will be advertised on CraftCrave in the Tutorials category today (look for timestamp: [20 Feb 01:00pm GMT]).